The sabaton
The shape of the sabaton changed to mirror the changing fashion in everyday foot attire for the period. During the 15th. century the fashion was for a long slender shape, tapering to a point at the toe. During the 16th. century the toe became progressively more rounded - eventually having a blunt squared-off appearance.
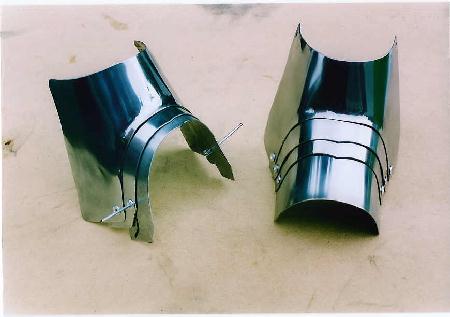
The sabaton is formed using step articulation of the lames and many works on armour reproduction suggest one starts with the bottom plate and work upwards. In fact I prefer to do the opposite and start with the plate that articulates with the lower end of the greave. Here I have used two plates extending down from the greave to a pivot plate, which reverses the step articulation. Fig. 50 shows the plate which forms the lower end of the greave being articulated to the first two lames of the sabaton, with the piece on the right having the pivot plate in position.
Initially the lames are cut so as to be a little too long, as can be seen from the piece on the left. This allows for trimming after articulation to ensure a smooth even line.
The piece on the left shows the blind rivets in position and one can see that they are so placed as to be immediately opposite each other, such that it would be possible to pass a rod through the two opposing holes. I think it appropriate to answer the often-asked question why I use these blind rivets, rather than the more conventional steel rivets, at this point in the narrative. The blind rivets are much easier to use and, more importantly, are very easy to remove by simply drilling out - which only takes a couple of seconds. The first time I make a piece from a pattern inevitably it is necessary to carry out a number of alterations to the shape of the various sections as assembly takes place. This necessitates having to dis-assemble sections of the piece, sometimes a number of times, before I'm happy with the final articulation. This task is made much quicker by using the blind 'pop' rivets initially - and only when I am quite satisfied that I have got the piece right do I substitute the blind rivets for conventional steel ones. Sometimes this is not until the whole armour is complete and when this armour is finished the rivets will have been changed.
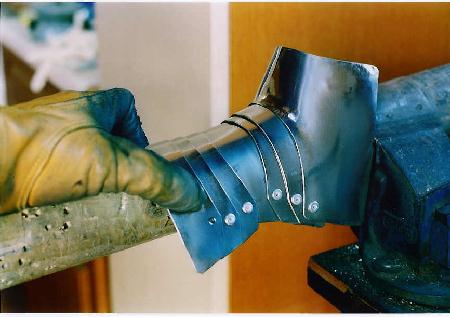
Fig. 51 shows the articulation of the sabaton progressing down from the pivot plate. The piece always looks much better if the plates are close-fitting leaving no gaps and this is facilitated by placing it over the wooden stake to mark the position of the rivet holes.
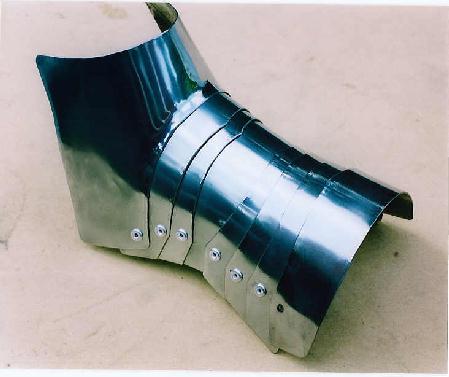
In the next image, Fig. 52, the last plate before the toe-cap is ready to be fixed in place.
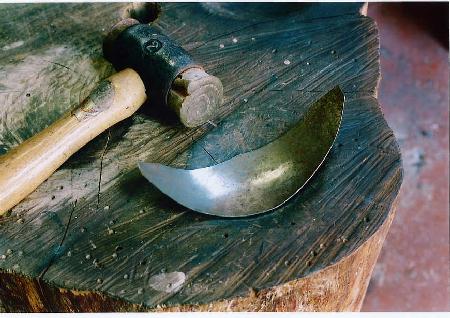
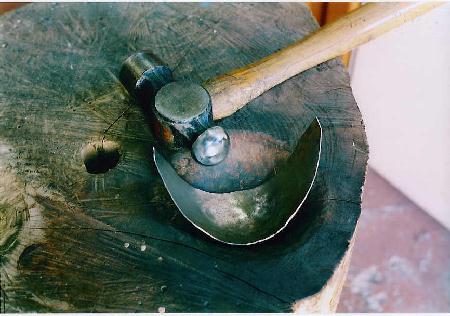
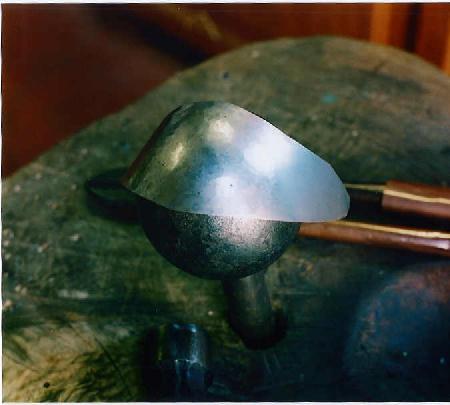
The toe-cap is formed in two sections. These are initally dished into the medium depression in the stump with the rawhide hammer ( Fig. 53 ), before the heavier dishing into the deepest depression with the ball-ended steel hammer ( Fig. 54 ), and final planishing ( Fig. 55 ).
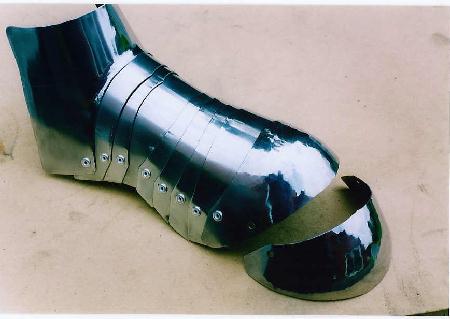
The toe sections are fixed in place, Fig. 56 -
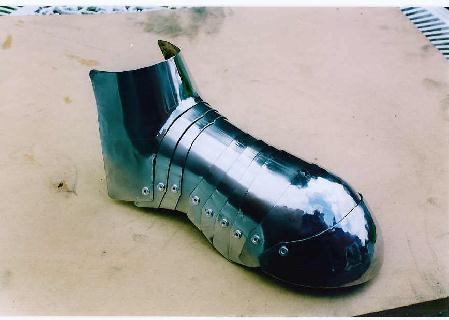
- and Fig. 57 shows the completed sabaton.
The last image on this page, Fig. 58, shows the leg harness assembled on the mannequin -

- and on the next page I will start construction of the shoulder and upper arm defense, the pauldron and spaulders.