The elbow-cop or couter
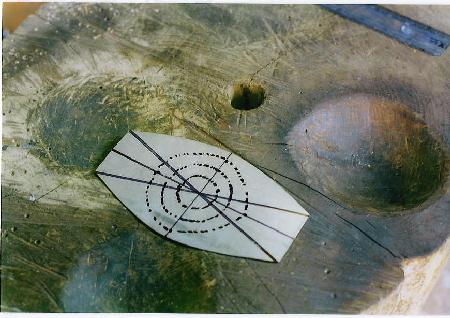
The vambrace is articulated with the rerebrace via two lames and the couter, which together form the shell articulation at the elbow. The couter is made first, as it is much easier to adapt the lames to fit the couter than vice-versa. Fig. 77 shows the steel cut-out for the couter with the centre marked, together with the concentric rings that will guide the hammer-work.
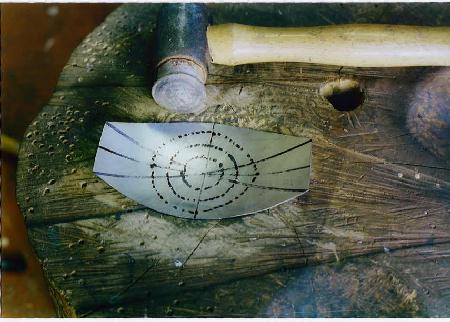
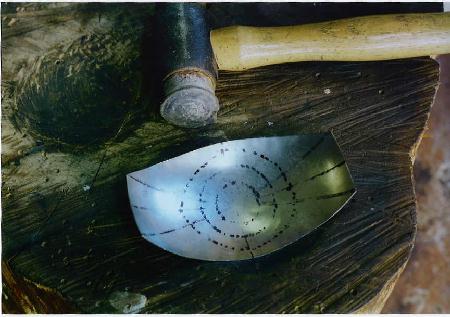
Hammer-work is started with the rawhide hammer - firstly into the shallow depression ( Fig. 78 ), then into the deeper depression on the stump ( Fig. 79 ). The hammer-work is carried out to include the 'wings' into the shallow depression, but confined to the concentric rings in the deeper depression - always working from the outer rings towards the centre to prevent the metal buckling at the periphery.
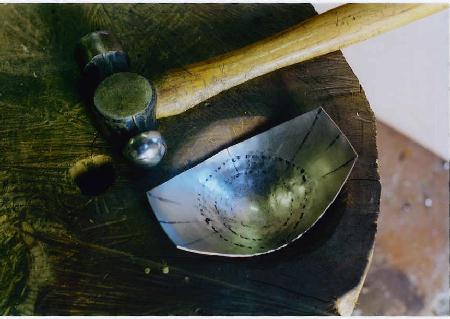
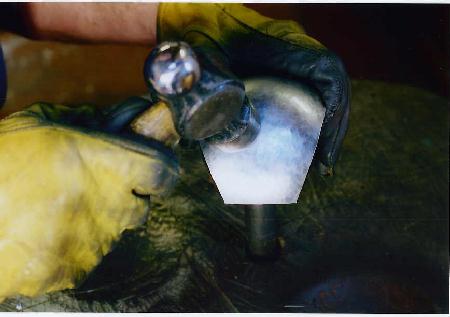
The dishing of the piece continues with the heavy ball-ended hammer into the deepest depression on the stump. It can be seen from their respective shapes that the area of contact with the metal is much smaller in the case of the ball-ended hammer than it is with the rawhide. As a consequence more care has to be taken with the spacing and force of the hammer blows. The aim is to stretch the metal down into the depression without spreading it at the periphery at all. To this end only the lightest of blows are directed at the outer rings, just enough to prevent the steel buckling, with the force of the blows increasing towards the centre of the piece, where the maximum amount of stretching of the metal takes place ( Fig. 80 ).
Finally the piece is planished over the steel ball to achieve a smooth even finish, the hammer-work being quite light with each blow overlapping the other so that the minimum amount of finishing will be necessary ( Fig. 81 ).
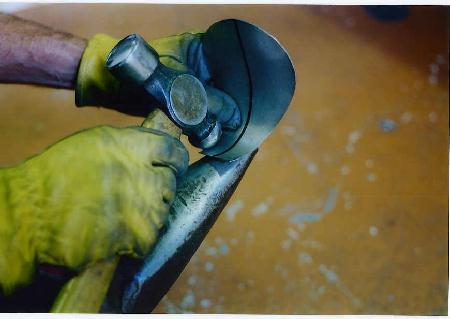
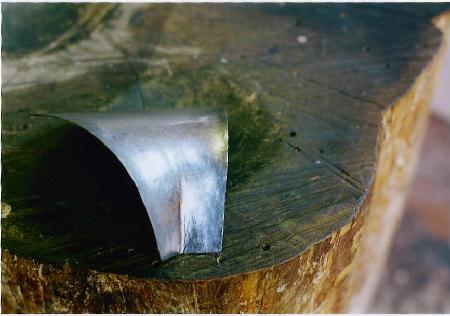
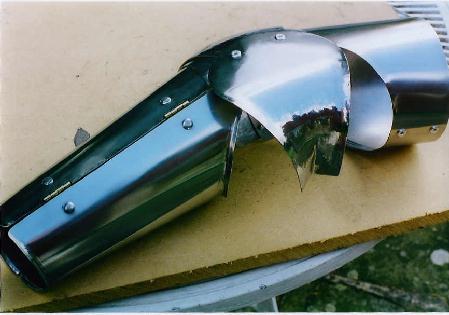
The wing section that will form the defense for the side and inner aspect of the elbow can be quite a complex shape to achieve. It is first simply curled around the wood stake and then the thinner end that will lie over the crook of the elbow joint must be flared into a 'V' shape without losing the curve already imparted. Fig. 82 shows the start of the flare being formed against the horn of the anvil - and Fig. 83 shows the piece prior to polishing.
Finally the arm harness is assembled. As before, I do this initially using the blind rivets to ensure the holes are correctly placed, and only when I am fully satisfied I've got everything right do I replace them with conventional rivets.

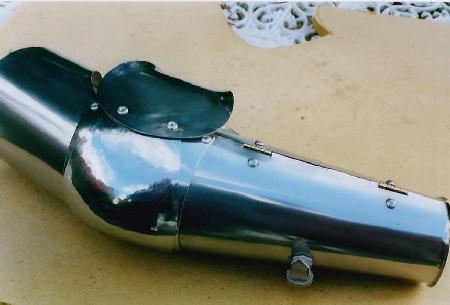
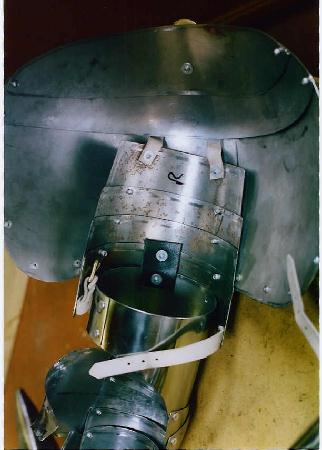
The next image, Fig. 87, shows the strapwork attaching the rerebrace to the spaulder ( if this armour were being made for wear one would omit the short black strap attaching the rerebrace to the spaulder, as the latter would simply lie over it, being held in place by the strap and buckle, thus allowing rotation of the upper arm ). Finally Fig. 88 shows the completed arm harness in place.
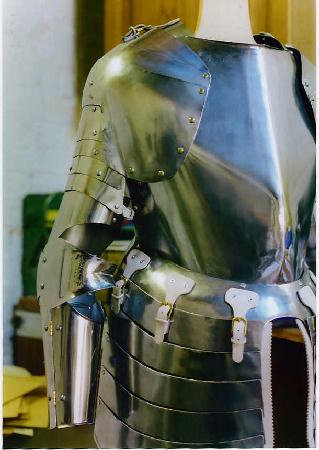
As we approach the end of the armour construction, on the next page I will be making the gauntlets.