The epaulières and spaulders
26th. September 2005
I have spent a long time considering the design of the epaulières for this armour and started with a modification of the pattern used in Project 1. After two abortive attempts - the results of which ended up in the bin - I decided to keep to the design shown in the line drawing at the start of this construction. This form of upper arm defense with a simple domed cop over the shoulder, leading down to a number of lames that make up the spaulders, would have allowed considerable freedom of movement.
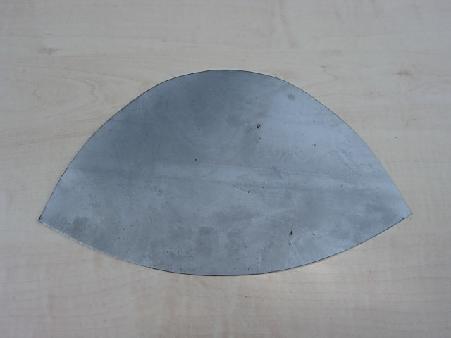
I have started with the shoulder cop and the first image on this page, Fig. 64, shows the piece cut from the steel before any shaping.
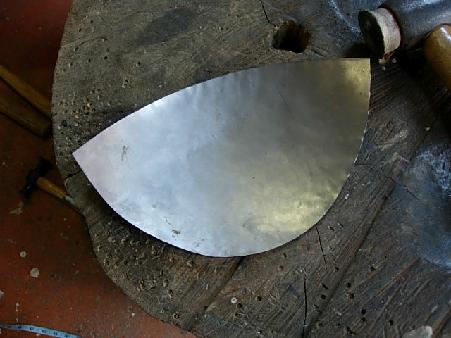
Shaping begins with the piece being dished into the shallow depression on the stump using the rawhide hammer (Fig. 65 ) then moving on to the intermediate depression - still using the rawhide hammer ( Fig. 66 ).
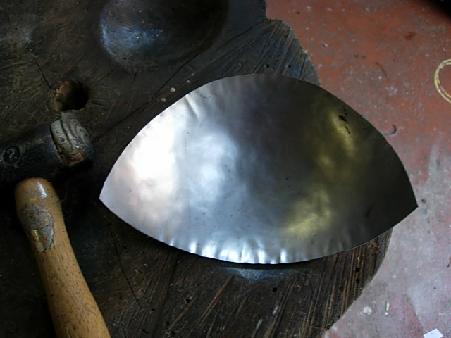
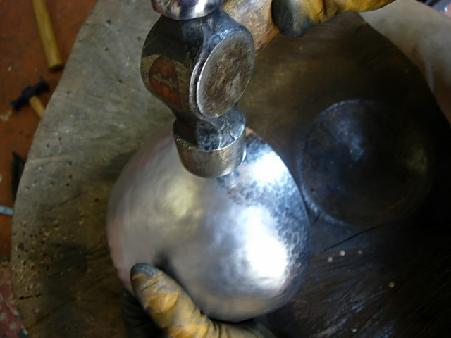
A more aggressive doming is now imparted to the piece using the heavy ball-ended hammer working the metal down into the deepest depression on the stump ( Fig. 67 ).
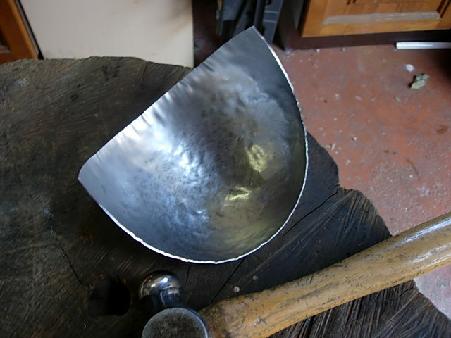
With the cop dished to it's final shape the hammer-work finishes by planishing over the steel ball using the flat face of the heavy hammer. I find that using the hammer lightly with successive blows overlapping each other produces the best finish. It is, however, quite a time-consuming process. The next image, Fig. 68, shows the planishing process underway.
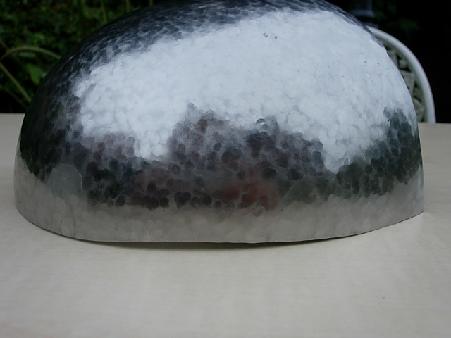
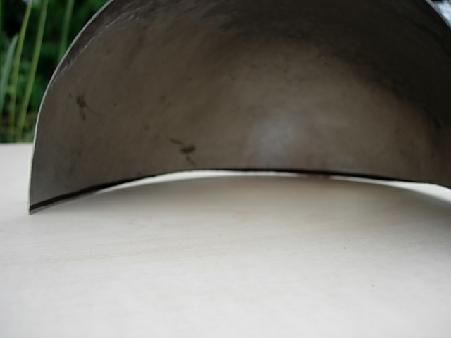
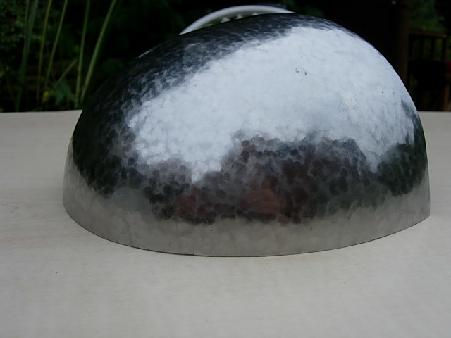
When the hammer-work is complete one often finds that the edge of the piece is no longer even as the metal does not always stretch uniformly. I have found that the easiest way to correct this is to place the piece on a flat surface and then draw a line around the inside using a 1/4" felt-tip marker pen - with the pen tip resting on the flat surface. The upper edge of the line marked on the piece now corresponds to the surface on which the piece was resting and if cut along this line the rim of the piece will now be flat and even ( Figs. 69,70,71 ).
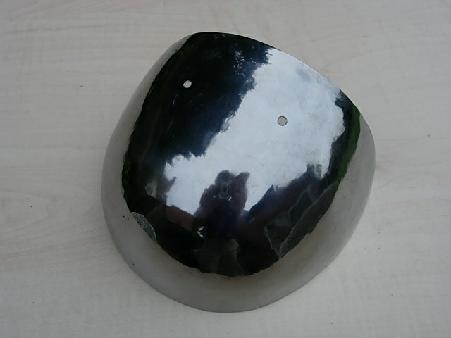
The piece is now sanded and polished and is shown in Fig. 72 with the holes drilled for attaching the spaulders.
With the cop complete work can now start on the spaulder lames and the next image, Fig. 73, shows the four pieces cut to shape. The top lame is wider than the lower three as it will lie beneath the bottom rim of the shoulder cop. The design of the spaulders with their scalloped lower edge is similar to that used in 'Project 1'

After cutting out the sections I hammer them flat on the anvil using the rawhide hammer ( Fig. 74 ). This rectifies any buckling that might have occurred during cutting out and imparts a degree of work-hardening. When working with pieces that are all the same it is essential to number them prior to shaping and drilling so that final assembly is correct.
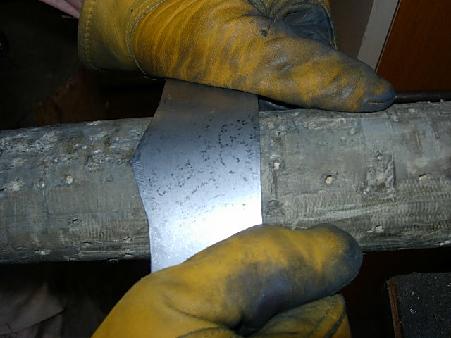
The individual lames are then curved by hand around a wooden stake held in the vice. Work starts with the upper lame and this is curved so as to fit snugly inside the lower edge of the shoulder cop. Each successive lame is then curved so as to fit accurately inside the one above. Fig. 75 shows one of the lames being curved against the stake
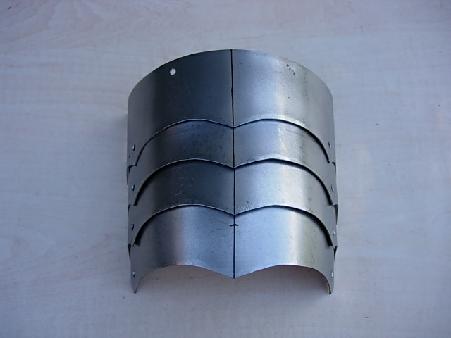
- and Fig. 76 shows the four lames sitting each within the other.
The pieces are then drilled and carefully aligned as initial assembly takes place ( Fig. 77 ).
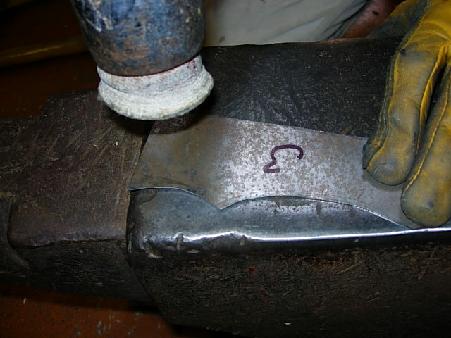
After initial assembly with the aluminium rivets a line can be marked along the edges of the lames ( Fig. 78 ).
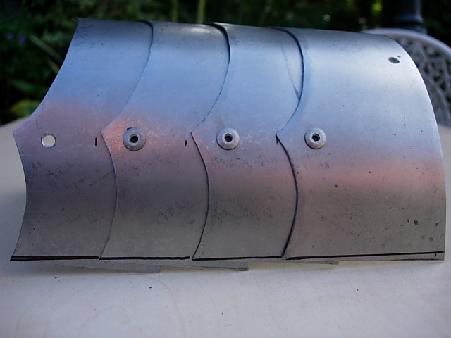
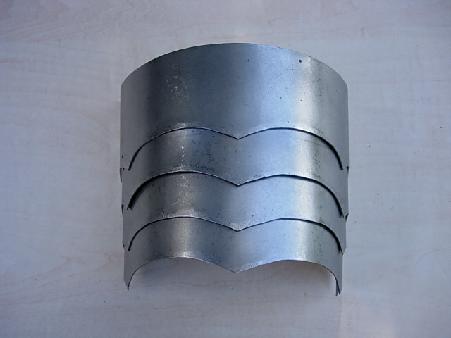
The aluminium rivets are now drilled out and the edges trimmed to this line prior to finishing the individual lames. Fig. 79 shows the spaulders articulated to each other with the lower strap-work in place.

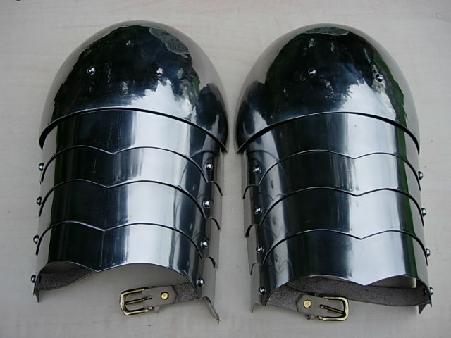
Finally a strip of leather is used to attach the spaulders to the lower end of the shoulder cop. Fig. 80 shows the right and left shoulder and upper arm defense completed.
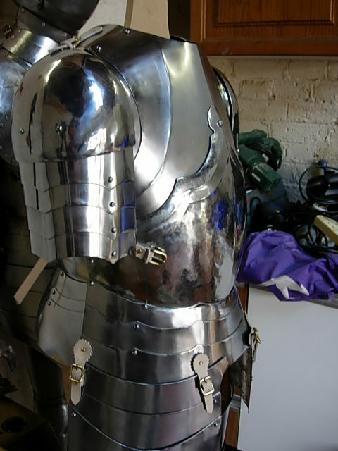
The strap-work that will attach the top end of the cop to the cuirass is made up and the final image on this page ( Fig. 81 ) shows the completed epaulières and spaulders in place.
On the next page work continues with the lower arm defense.